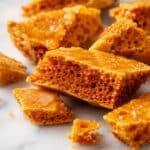
Honeycomb comes down to one number: 150 degrees Celsius, the hard crack stage. Hit it and the reaction with bicarb is instant and dramatic. Miss it, even by ten degrees, and you get a sticky puddle instead of a crunchy slab. A five dollar sugar thermometer is the difference between success and failure here, genuinely not optional.
Five ingredients, under fifteen minutes on the stove, and something that looks like a magic trick the first time you watch it foam up the sides of the pan.
Table of Contents
Why the temperature matters
My first attempt at honeycomb ended in a thick, sticky puddle that never set, I had not gotten the sugar hot enough and the bicarb reaction barely happened. The second attempt, borrowed thermometer in hand, I watched it climb to exactly 150 degrees before pulling the pan off. The mixture surged up the sides of the pan the moment the bicarb hit it and set into a perfect golden slab.
- 150 degrees is hard crack stage. At this exact point the sugar sets brittle and crunchy rather than chewy or sticky. No guessing, use a thermometer.
- No stirring once the sugar dissolves. Stirring a boiling sugar syrup causes crystallisation, which gives grainy, sandy honeycomb instead of smooth and glassy.
- Bicarb goes in off the heat. Removing the pan first means residual heat does the work without collapsing the foam.
Ingredients you will need
- 1 cup caster sugar
- 1/3 cup golden syrup
- 1/4 cup water
- 2 teaspoons bicarbonate of soda, sifted
You will also need a sugar thermometer, a large heavy-based saucepan and a 20cm square tin lined with baking paper. According to BBC Good Food, golden syrup is an invert sugar that resists crystallisation, useful in confectionery where a smooth, glassy result matters.
How to make honeycomb step by step
- Line a 20cm square tin with baking paper and set aside on a heatproof surface near the stove. Have the sifted bicarb measured and ready in a small bowl before you start, once the sugar reaches temperature there is no time to stop and measure.
- Combine the caster sugar, golden syrup and water in a large heavy-based saucepan over medium heat. Stir gently until the sugar has completely dissolved, about 3 to 4 minutes.
- Stop stirring entirely from here. Clip the sugar thermometer to the side of the pan and increase the heat to medium-high.
- Let the mixture boil without touching it until the thermometer reads exactly 150 degrees Celsius, about 8 to 10 minutes. Watch closely in the final 2 minutes, it can go from perfect to burnt very quickly.
- Remove the pan from the heat immediately. Working quickly, tip in all the bicarb at once and stir just two or three times. The mixture will foam dramatically and surge up the pan.
- Pour the foaming mixture immediately into the prepared tin. Do not spread or press it down, let it flow and find its own level. Spreading deflates the air bubbles.
- Leave to cool and set completely at room temperature for at least 30 minutes. Break into shards and store immediately in an airtight container.
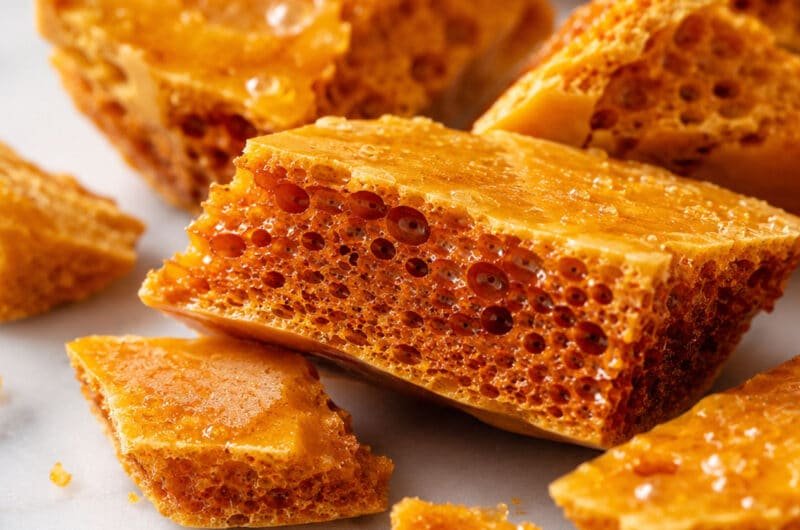
Honeycomb Recipe
Course: Sweets, ConfectioneryCuisine: AustralianDifficulty: Medium4
servings30
minutes40
minutes300
kcal1
hour10
minutesA classic homemade honeycomb recipe made with caster sugar, golden syrup and bicarb soda. Light, crunchy and ready in under 15 minutes on the stove. Perfect eaten as a snack, dipped in chocolate or crumbled over desserts.
Ingredients
1 cup caster sugar
1/3 cup golden syrup
1/4 cup water
2 teaspoons bicarbonate of soda, sifted
Directions
- Line a 20cm square tin with baking paper. Measure and sift the bicarb into a small bowl. Have everything ready before you start.
- Combine sugar, golden syrup and water in a large heavy-based saucepan over medium heat. Stir until sugar dissolves completely.
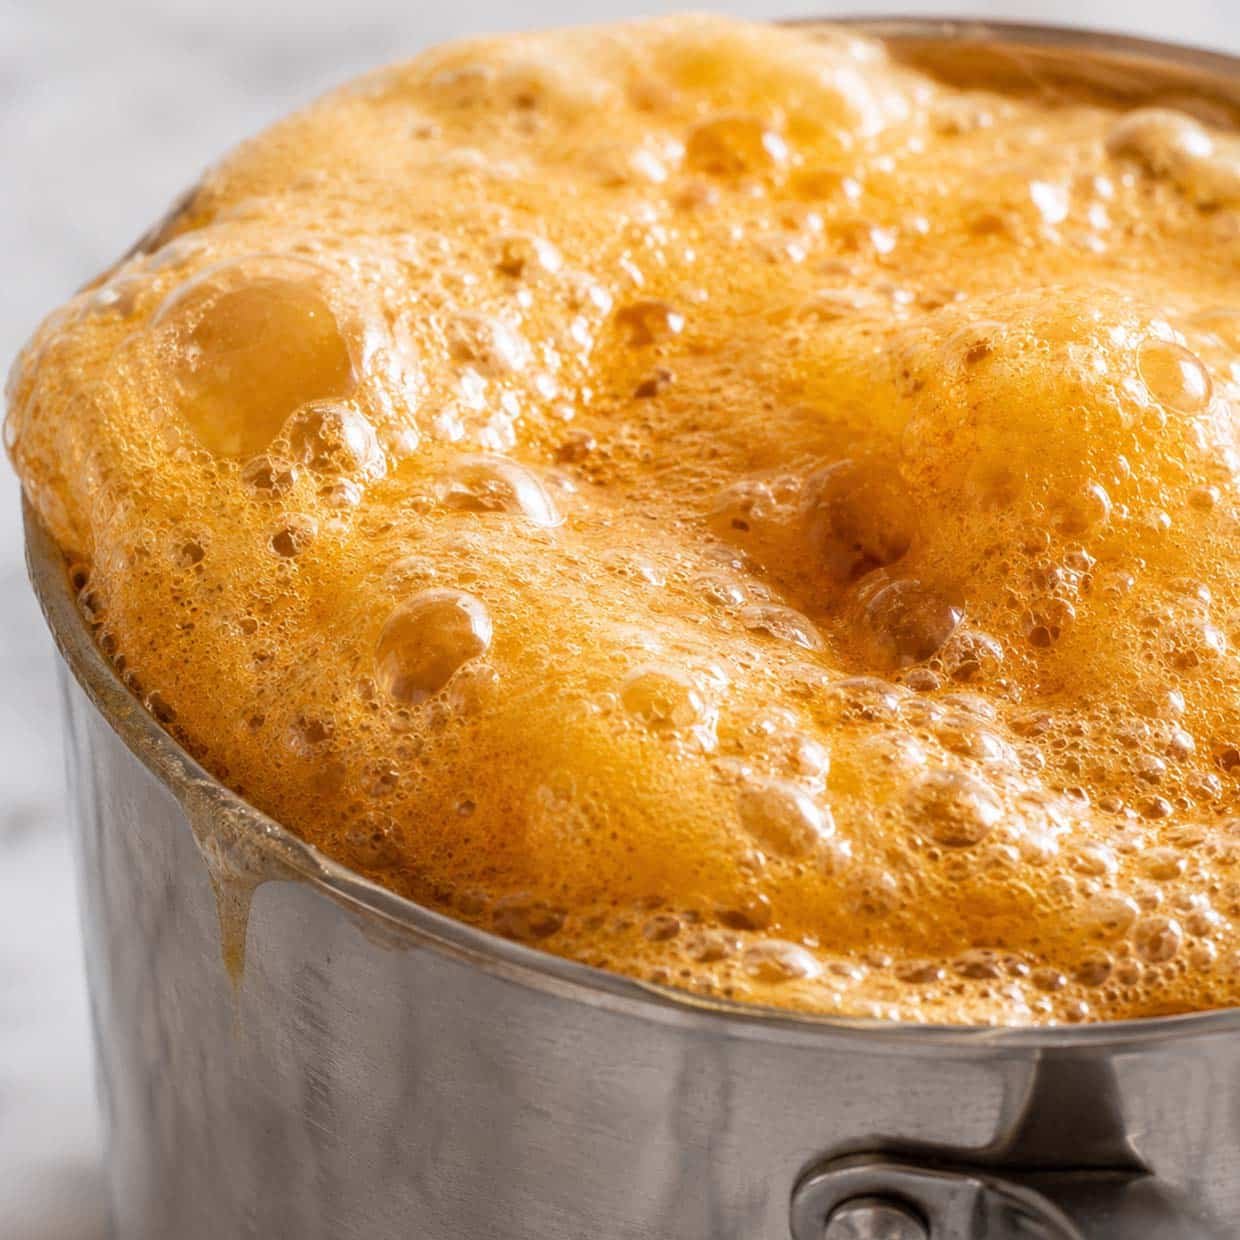
- Stop stirring. Clip thermometer to the pan and increase heat to medium-high. Boil without stirring until temperature reaches 150 degrees Celsius.
- Remove from heat immediately. Add all the bicarb at once and stir just 2 to 3 times. The mixture will foam dramatically.
- Pour immediately into the prepared tin without spreading or pressing down. Leave to set at room temperature for 30 minutes.
- Break into shards and store immediately in an airtight container.
Notes
- Use a sugar thermometer: This is not optional for honeycomb. Guessing the temperature is the number one reason batches fail.
- Do not stir after dissolving: Stirring a boiling sugar syrup causes crystallisation. Once the sugar dissolves, leave it completely alone until you add the bicarb.
- Do not spread: Pouring the foaming mixture into the tin and leaving it alone gives the best honeycomb structure. Spreading it pops the bubbles.
- Store immediately: Honeycomb absorbs moisture from the air very quickly. Get it into an airtight container as soon as it is fully set.
What happens if the temperature is off
- Under 150 degrees: the bicarb reaction is weak, honeycomb spreads flat and sets chewy rather than airy. Check your thermometer’s accuracy in boiling water if this keeps happening.
- Sticky and won’t set hard: usually humidity, sugar absorbs moisture fast. Make honeycomb on a dry day and seal it immediately once set. Never refrigerate it.
- Over 160 degrees: it burns and tastes bitter. The moment it hits 150, pull it off without hesitation.
Ways to use honeycomb
- Chocolate dipped: dip shards halfway into melted dark chocolate, set on baking paper. A homemade Violet Crumble, genuinely better than the original.
- Crumbled over ice cream: break into small pieces and scatter over vanilla just before serving.
- Stirred through chocolate bark: melt dark chocolate, spread on a lined tray, scatter honeycomb pieces, set and break into pieces.
Make ahead and storage
Airtight storage is essential, honeycomb absorbs atmospheric moisture faster than almost any other confectionery. In a sealed container in a cool, dry spot it keeps for up to 2 weeks, or 3 to 4 days in humid weather. Never refrigerate it. Chocolate-dipped pieces keep slightly longer thanks to the coating’s protection.
Recipes you might like
Frequently asked questions
Why did my honeycomb not puff up?
The most common cause is sugar that did not reach 150 degrees Celsius before the bicarb was added. At lower temperatures the bicarb reaction is weaker and the honeycomb sets flat and dense rather than airy.
Can I add flavours to this honeycomb recipe?
Yes. Add a teaspoon of vanilla extract or a pinch of sea salt along with the bicarb for a simple variation. For a coffee version, dissolve a teaspoon of instant espresso powder in the water before cooking.
Is honeycomb the same as a Violet Crumble?
A Violet Crumble is a chocolate-coated honeycomb bar, so the honeycomb inside is the same thing. Dipping homemade honeycomb in dark chocolate is essentially a homemade Violet Crumble.
There are not many recipes that genuinely feel like a little bit of magic every time you make them. Honeycomb is one of them.
Happy cooking from my Newcastle kitchen.
Ella x